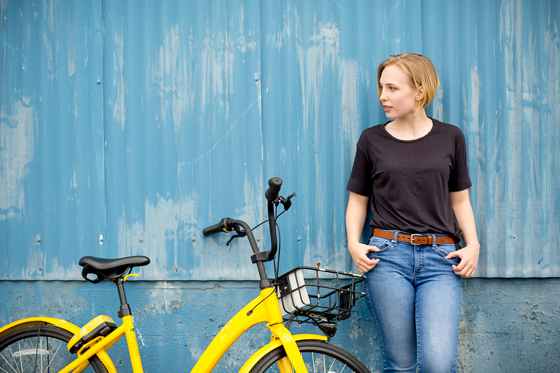
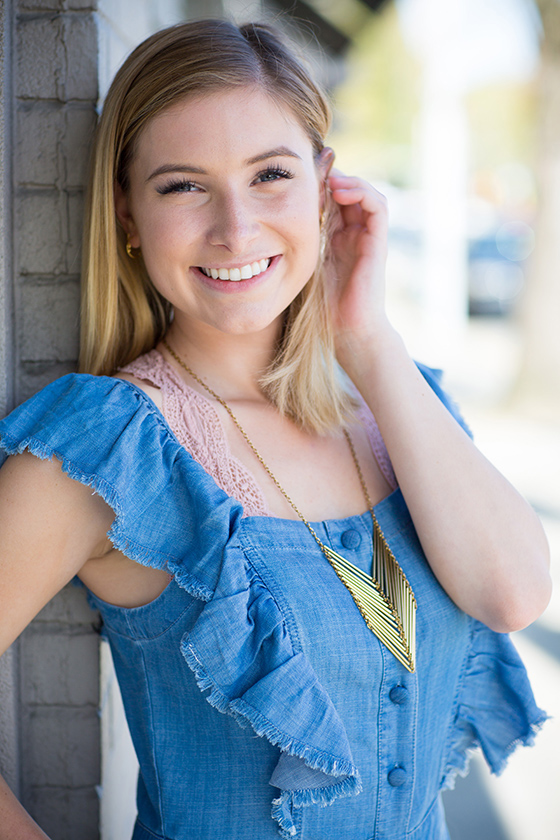
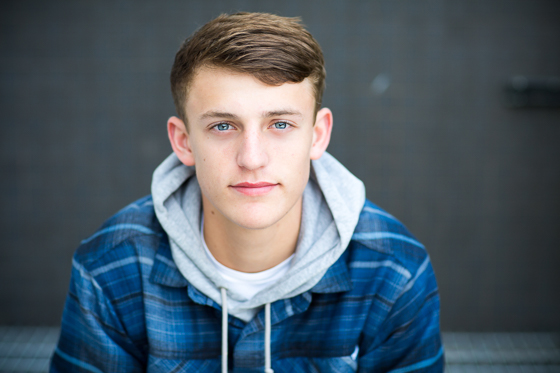
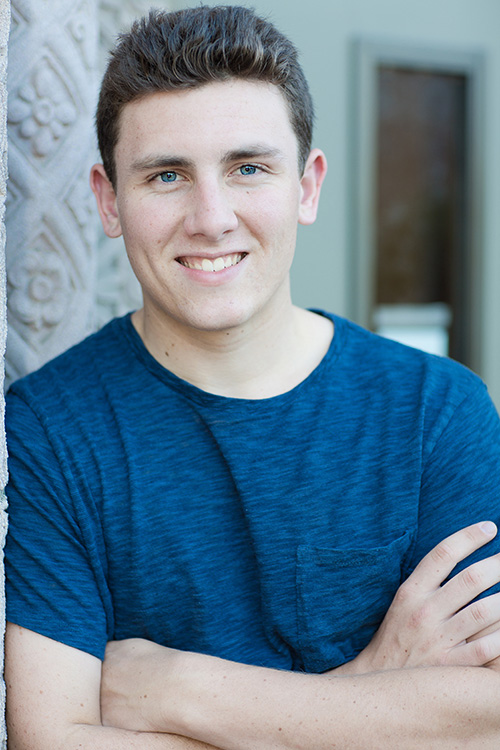
What should I wear for my Senior Portrait Session? Gallery What should I wear for my Senior Portrait Session?Read More
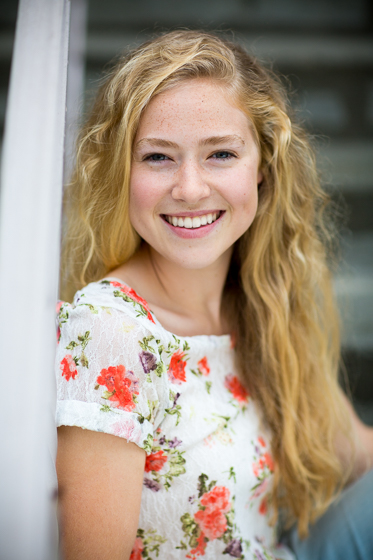
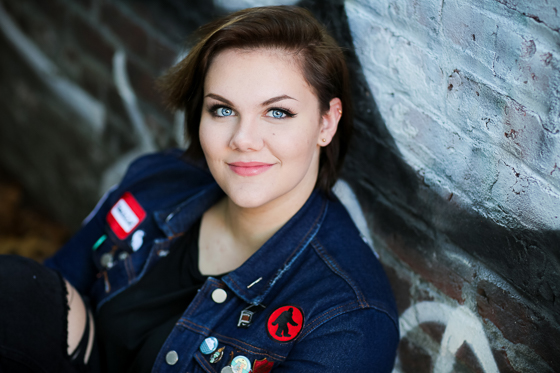
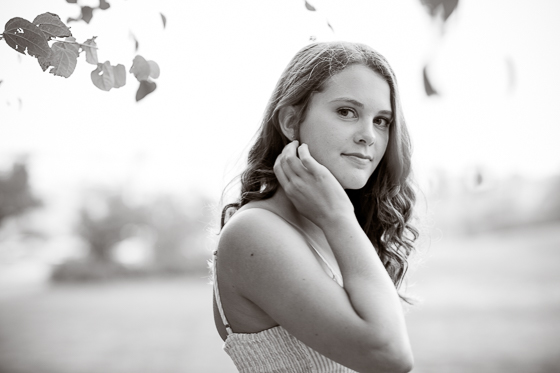
Consulting with a Stylist for your Portrait Session Gallery Consulting with a Stylist for your Portrait SessionRead More
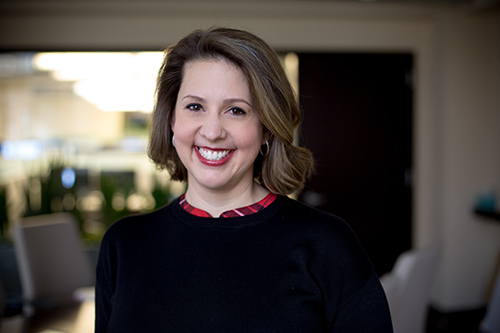
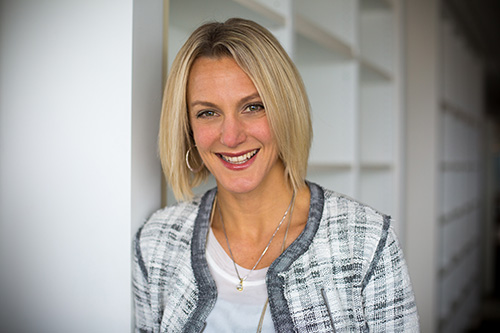
Should I hire a professional photographer for corporate headshots? Gallery Should I hire a professional photographer for corporate headshots?Read More
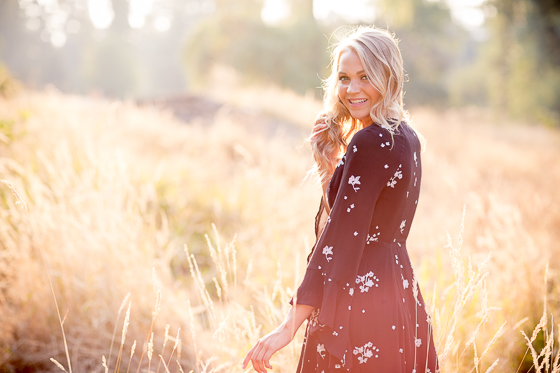
Bellevue Botanical Gardens Senior Portraits Gallery Bellevue Botanical Gardens Senior PortraitsRead More
Senior Portraits at the Downtown Bellevue Park Gallery Senior Portraits at the Downtown Bellevue ParkRead More
Juanita Bay Park in Kirkland for Senior Portraits Gallery Juanita Bay Park in Kirkland for Senior PortraitsRead More
Senior Portraits at Brightwater Center in Bothell Gallery Senior Portraits at Brightwater Center in BothellRead More
Senior Portraits at St. Edward’s State Park Gallery Senior Portraits at St. Edward’s State ParkRead More
Pocock Rowing Club Senior Portrait Session in Seattle Gallery Pocock Rowing Club Senior Portrait Session in SeattleRead More